The PlotDevice application is a lightweight ‘integrated development environment’ for graphics programming. It’s an all-in-one tool for writing a script, previewing its output, and generating images or movie files.
Each script you open in the application gets its own window. The window is divided into three ‘panes’ which are used to display code, output, and messages:
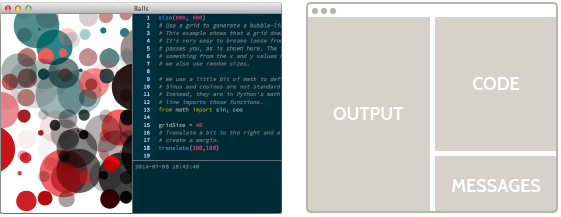
The code you write goes in the text editor in the upper right. Any ‘keywords’ are automatically colored (for example, all of the PlotDevice commands in the reference). The editor also knows about the parameters each command accepts. If you type a command then hit the tab-key, PlotDevice will insert the default arguments and let you tab between them.
A variety of keyboard commands exist for common code-editing tasks like indenting or moving text, using multiple cursors, or modifying numeric values. Look in the application’s menu for details.
Running scripts
Once you have a script going, you can press to have PlotDevice examine your script and display its visual output on the left side of the window. Don’t hesitate to press as often as you like; seeing what output your script produces is the best way to learn what it does.
The lower right area is for messages: remarks that PlotDevice has about any errors in your script as well as any output from the print function. PlotDevice can be pretty rigid when it comes to analyzing your code – it’s a computer program after all.
Debugging is an unavoidable part of the programmatic design process so don’t get discouraged. Errors in scripts are common, and you will encounter a lot of them at first. When something goes wrong, try working backwards to find the place where your code and your expectations diverged. Each time you figure one of these puzzles out, you can bask in the knowledge that you (probably) won’t make the same mistake next time.
Interrupt a running script
Some scripts are multi-frame animations that will run until you tell them to stop. You can press at any time to bring them to a halt. PlotDevice will still render the partially finished output.
Exporting
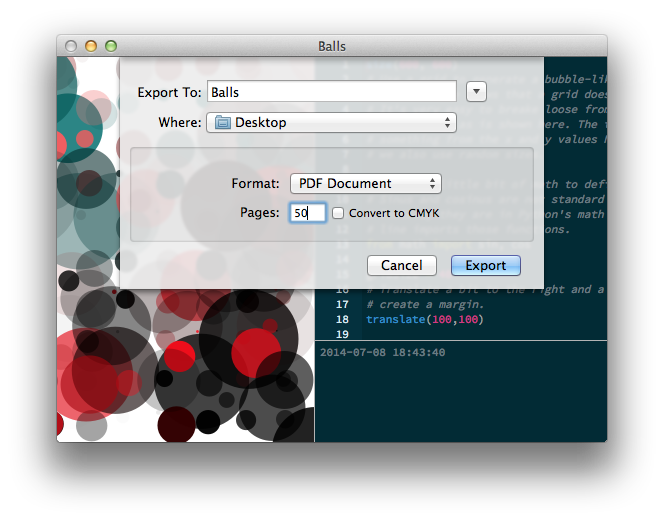
Once you are satisfied with the output of your script, you can export it to one or more PDF’s or images: press or choose from the menu. Here you can select the number of pages you want to export (either as PDF pages or separate image documents).
For each exported page, PlotDevice re-runs your script. This behavior is especially useful to scripts that use the random() command since the output will be different each time the script is run. In our example script, we can generate a multitude of different compositions with the same ease as creating a single page:
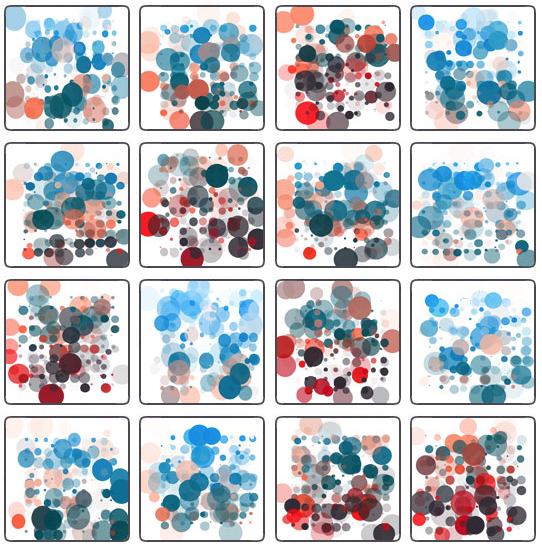
This is one of the great advantages to using code as a design tool: you can define the general style for the output of your script while leaving some of the specifics up to chance. This way, you can quickly develop a consistent style that looks different each time, then test and asses your creations.
Copy & Paste
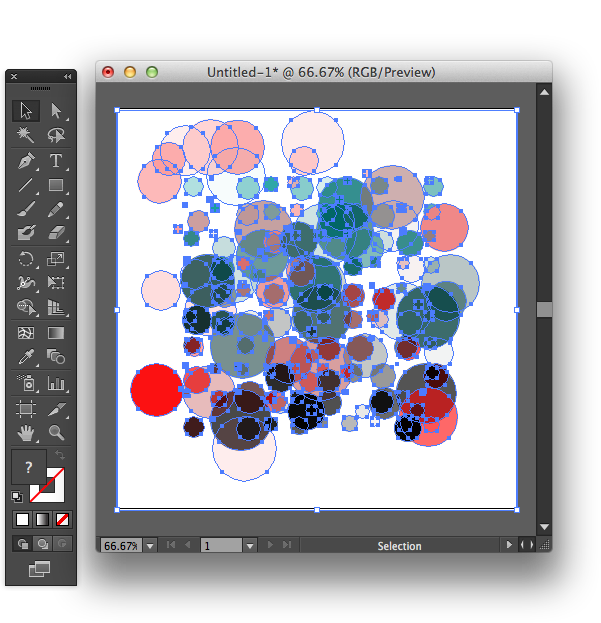
You can also use PlotDevice in tandem with a drawing program like Illustrator or Sketch. Whenever you like what you see in the output pane, press to copy it to the clipboard as a vector image:

Now you can paste the graphic into your app of choice and futz with it to your heart’s content. This is actually one of our favorite ways to work with PlotDevice; you can let the script generate the basic composition then hand-craft the details:
Saving
When you save a PlotDevice document, you’re only preserving the code not the output. Think of it as adding a new recipe to a notebook rather than trying to squash the crème brûlée itself into the pages. You can revisit the script later on (potentially spicing it up a little), and generate the output again whenever you like.